> For the complete documentation index, see [llms.txt](https://support.portsip.com/llms.txt). Markdown versions of documentation pages are available by appending `.md` to page URLs; this page is available as [Markdown](https://support.portsip.com/portsip-communications-solution/portsip-pbx-administration-guide/33-crm-integrations/hubspot-crm.md).
# HubSpot CRM
### HubSpot CRM Integration Overview
Improve your team’s productivity with **PortSIP PBX’s native HubSpot CRM integration**. This integration automatically matches incoming and outgoing calls with **HubSpot contacts, leads, and accounts**, and logs call activities—including **call records, call recordings, and AI transcriptions**—to the appropriate CRM records.
By eliminating manual data entry and providing agents with real-time customer context, this integration helps teams work more efficiently and deliver a consistently superior customer experience.
***
### Key Capabilities
#### Caller ID to Contact Name
Inbound calls automatically trigger a **HubSpot** CRM lookup to identify the caller and display the associated contact name.
#### Contact Lookup from PortSIP ONE
When searching by name in **PortSIP ONE for Windows, macOS, or Web Client**, the system queries **HubSpot** CRM and matches contacts based on phone numbers.
#### Automatic Call Journaling
All trunk calls are automatically logged in the HubSpot Contact Card as CRM call activities. Agents can also append call notes at any time.
#### Create New Contacts Automatically
For calls from unknown numbers, agents can create new HubSpot contacts or leads directly from the PortSIP PBX client.
#### Recording and AI Transcription Logging
Call recording links and AI transcription links are automatically attached to the corresponding Zoho CRM activity.
***
### 1. Install Node.js and Configure the HubSpot CLI
1. Go to the [Node.js website](https://nodejs.org/en), download the **LTS** version, and install it.
2. After the installation is complete, open a terminal or Command Prompt.
3. Run the following command to install the HubSpot CLI:
```bash
npm install -g @hubspot/cli
```
4. After the installation is complete, run:
```bash
hs account auth
```
5. Press **Enter** when prompted. HubSpot opens automatically in your default browser.
6. Sign in to your HubSpot account, and then click **Continue with this account**.
7. On the **Personal Access Key** page, scroll to the bottom and click **Generate and send to CLI**.
7. Wait until the terminal displays a message confirming that the **CLI is connected**.
8. Return to the terminal and follow the prompts to complete the account configuration, as shown in the following screenshot.
For more information, refer to the HubSpot documentation: [Install the HubSpot CLI](https://developers.hubspot.com/docs/developer-tooling/local-development/hubspot-cli/install-the-cli).
***
### 2. Create a New Project and App
1. In the terminal, go to the directory where you want to create the project.
For example:
```powershell
cd D:\HubSpot
```
2. Run the following command:
```bash
hs project create
```
3. Follow the prompts and configure the project as follows:
* Enter a project name.
* Select the directory in which to create the project. The current directory is selected by default.
* For the project type, select **App**.
* For the distribution method, select **Privately**.
* For the authentication method, select **OAuth**.
* Select any required features by pressing the Spacebar. You can also press **Enter** without selecting any features.
4. After the project is created, locate the project folder on your computer and open the entire folder in a text editor such as Visual Studio Code.
5. In the `src` directory, locate and open the `app-hsmeta.json` file.
6. In the `redirectUrls` section, replace the existing value with the HubSpot CRM redirect URL provided by PortSIP PBX.
7. Add the following permissions to the `requiredScopes` section:
```json
"crm.objects.companies.read",
"crm.objects.companies.write",
"crm.objects.owners.read",
"timeline"
```
8. Save the `app-hsmeta.json` file.
9. Return to the terminal and go to the project directory.
For example:
```powershell
cd D:\HubSpot\PortSIPTest
```
10. Run the following command to upload the project and follow the prompts to complete the upload:
```bash
hs project upload
```
11. Sign in to HubSpot and go to **Development > Projects**. Select the project uploaded in the previous step.
11. Select the app, and then open the **Auth** tab.
12. Copy the **Client ID** and **Client secret**. You will need these values when configuring the HubSpot CRM integration in PortSIP PBX.
For more information, refer to the HubSpot documentation: [Create a new app using the CLI](https://developers.hubspot.com/docs/apps/developer-platform/build-apps/create-an-app).
***
### Step 2: Configure PortSIP PBX
#### Enable CRM at the Tenant Level
Log in to the **PortSIP PBX Web Portal** as a **System Administrator**, then navigate to **Tenants**, select the target tenant, and click **Edit**.
Open the **Features** tab and ensure that the **CRM** option is enabled.
> **Important:** CRM integration will not function unless this feature is enabled for the tenant by a System Administrator.
Alternatively, you may sign in directly as the **Tenant Administrator** for the desired tenant.
***
#### Configure HubSpot CRM Integration
1. Navigate to **Integrations > CRM**.
2. From the **Select a CRM solution** dropdown, choose **HubSpot**.
3. Enter the **Client ID** and **Client Secret** obtained in Step 1.
***
### Configure CRM Behavior
#### Contact Lookup Order
Define the priority for HubSpot CRM searches:
* Contacts
* Companies
#### Query CRM
Specify when PortSIP PBX should query HubSpot CRM:
* **Always query**
* **Only when not found in PBX CRM contacts**
#### Log Calls as Activities
Enable this option to automatically log calls as HubSpot CRM activities.
When enabled, a call recording link can be included in the activity:
* **Private Recording Link** – Authentication with PortSIP PBX is required to access the recording.
* **Public Recording Link** – Authentication with PortSIP PBX is not required.
#### Create Contacts for New Numbers
Allow agents to create CRM records when calls come from unknown numbers.
***
### Authorize HubSpot Access
1. Click **Authorize**. A new browser tab will open.
2. Sign in using the **HubSpot user account** that should grant access *(do not use a developer account)*.
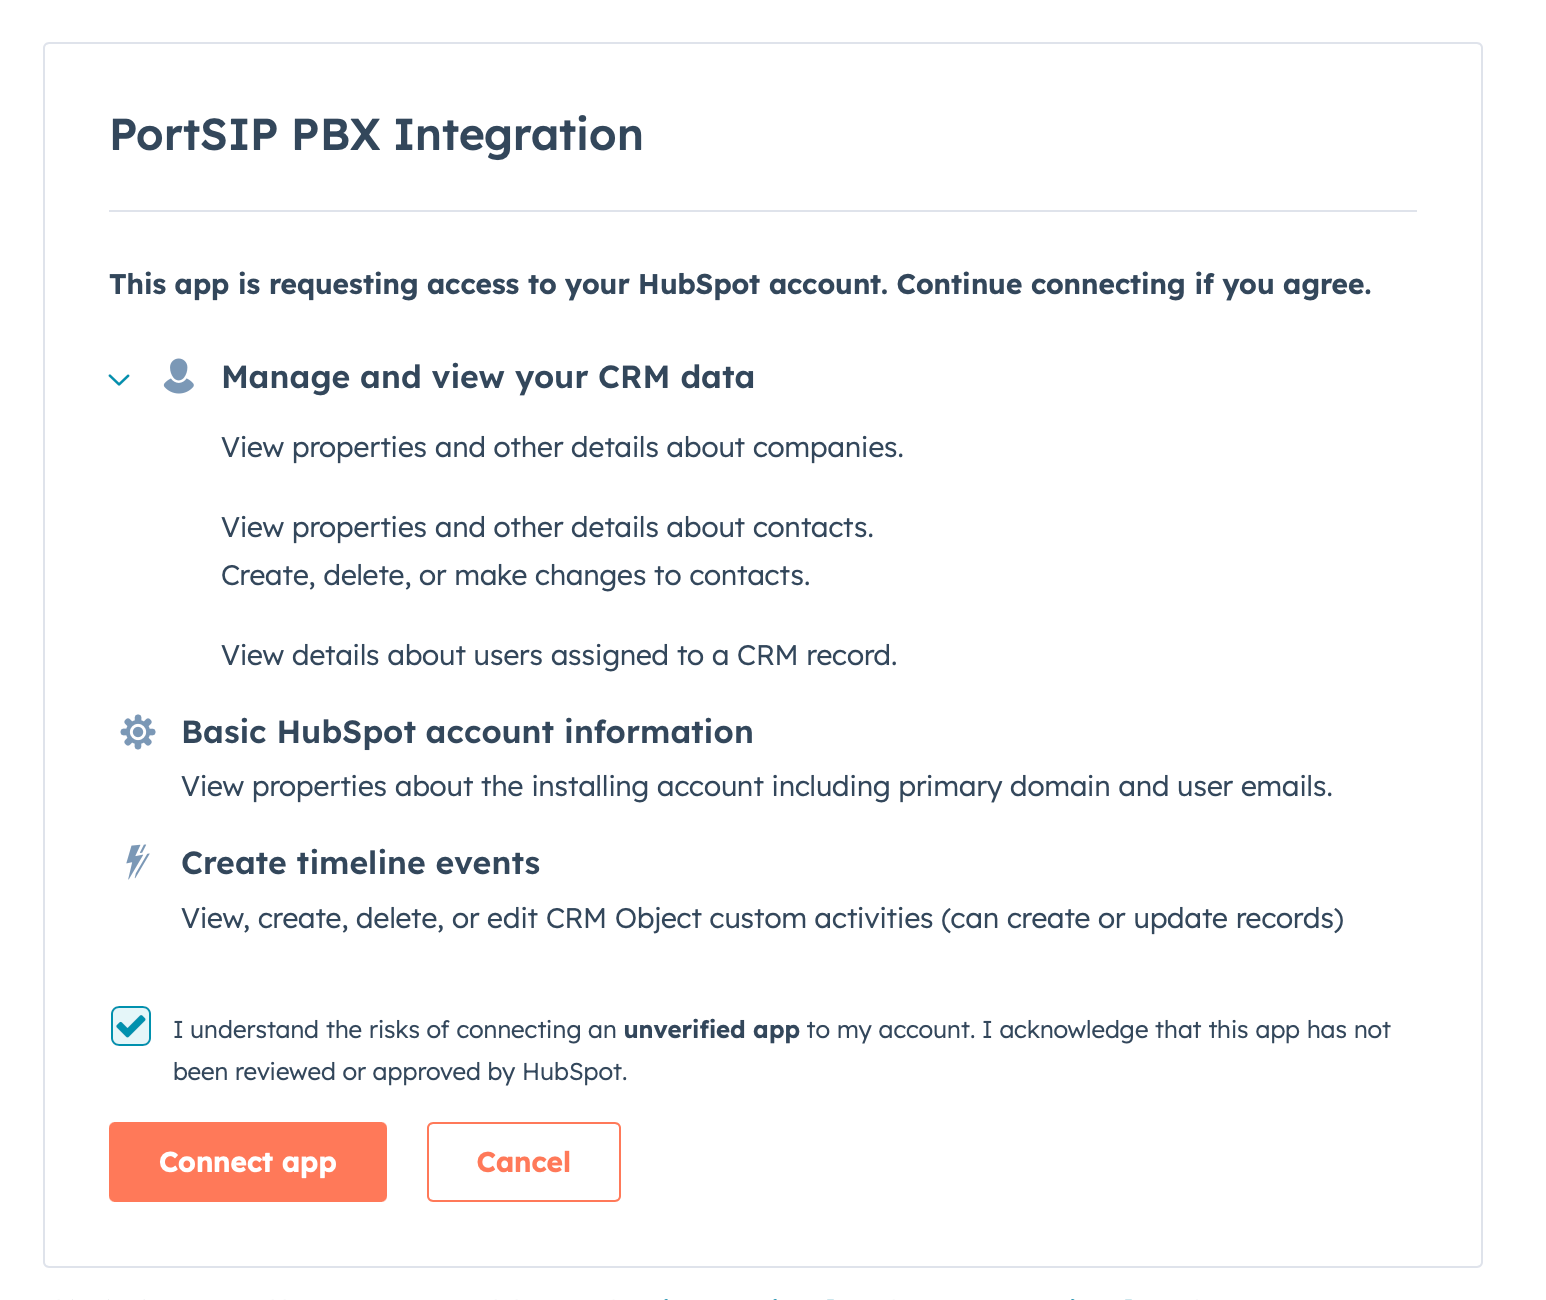
During that, HubSpot will ask you to confirm the integration. Please complete the verification as per the prompt below.
3. Click **Connect app** to authorize PortSIP PBX to access HubSpot CRM data.
Once authorization is complete, the integration becomes active immediately.